
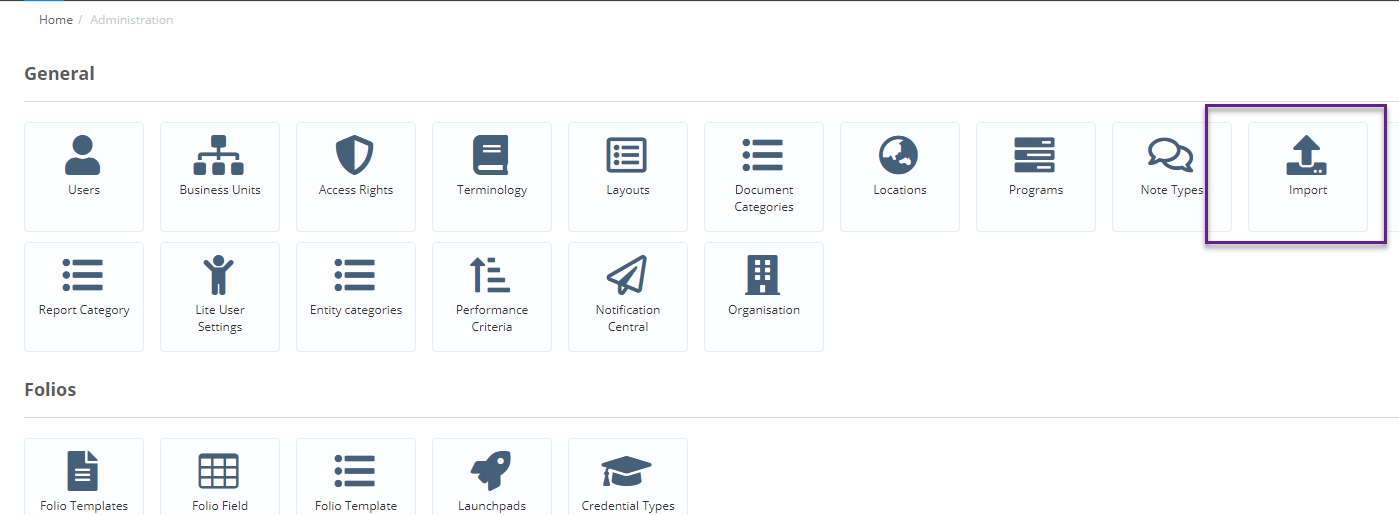
You can import Entities and Contacts by clicking on the gear icon and finding the Import heading in the General Admin Section.
Importing New Entities and Contacts
Updating Existing Entities and Contacts
Uploading Entity & Contact Credentials
Importing New Entities and Contacts
- When importing entities and contacts, you can either import new entities and all their connected contacts, or you can import contacts and link them to entities already in the system.
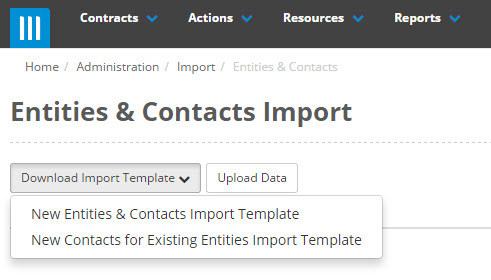
- Select your preferred option. A CSV template will be created with a column for each of your entity/contact fields.

- Using one line for each entity, fill in your details and save.
- When there are multiple Contacts for the one entity, simply enter the contact details on a new line. The entity details can be left blank, but all contacts for the same entity need to be grouped together.
- When you are importing Contacts for an existing entity, the Entity Key is needed to identify which entity to link the Contact information to.
- For more information on how certain types of fields are captured - look at Data Rules article in Help.
- Once you have completed your spreadsheet, save it and click on Upload.
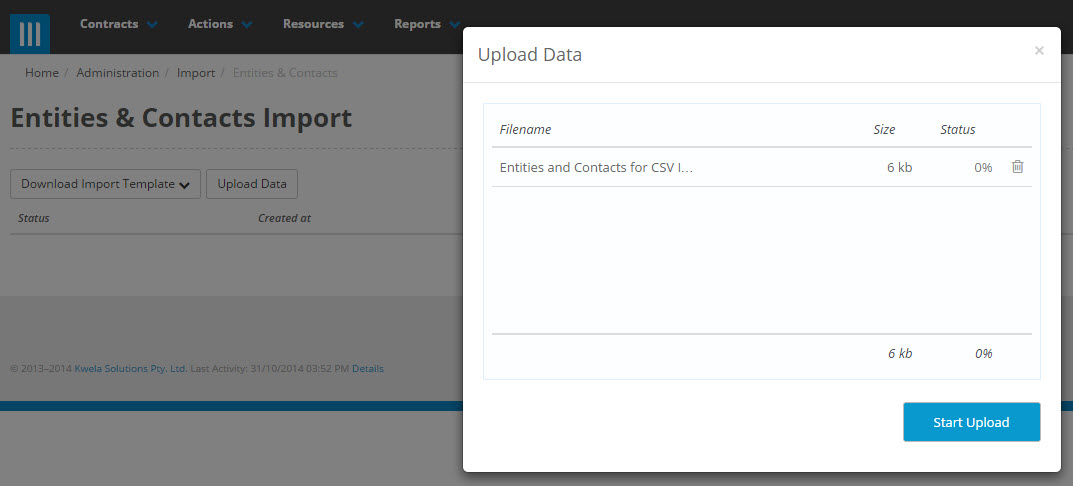
- The import facility will then create and validate the files
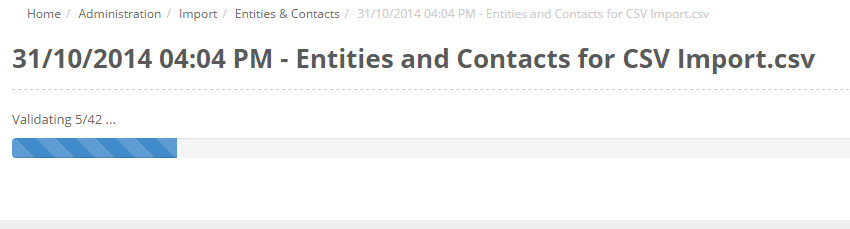
- A page will then be displayed which will list all the records to be imported. It will indicate whether the records are OK or whether there are any errors in the system (please refer to the What to do if there are errors in my import article for how to deal with errors).

- If all records are OK, click on Import and the records will be imported
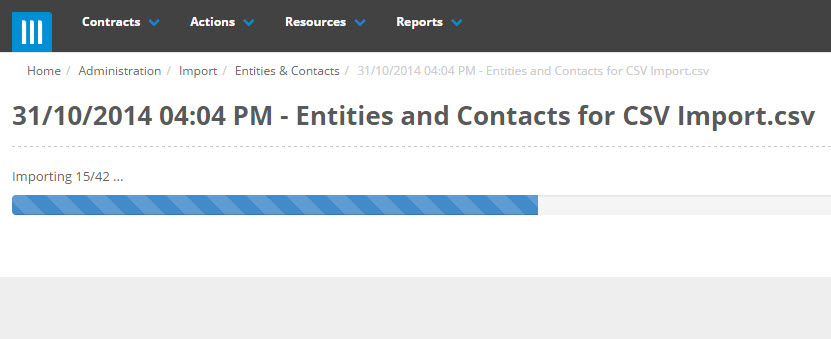
- After successful import you will get a listing of Imported Records showing the details of the records and the number of successfully imported records.
Updating Existing Entities and Contacts
Updating an existing Entity or Contact through import is largely the same as importing a new entity or contact. On the import screen under Download Import Template select either Existing Entities or Existing Contacts:

An Excel template will be created with a column for each of your Entity or Contact fields. The major difference from new imports is that there is a mandatory column at the start of the Entity file called Entity - Key, and in the Contact file there will be two columns, Entity - Key and Current Contact Name:
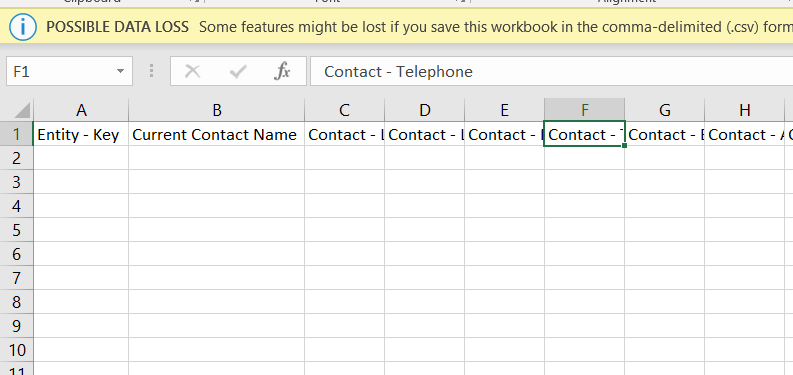
These columns are what is used to map each of the Entities/Contacts that you are updating to the correct existing Entity/Contact. Now using one line for each Entity or Contact fill in your details and save. Note that you do not need to fill in every field, only the ones you want to update. If you leave a field blank in the csv it will not clear the existing data in the Entity or Contact, it will just be ignored.
Once you have filled out the csv you can select Upload Data to upload the file:
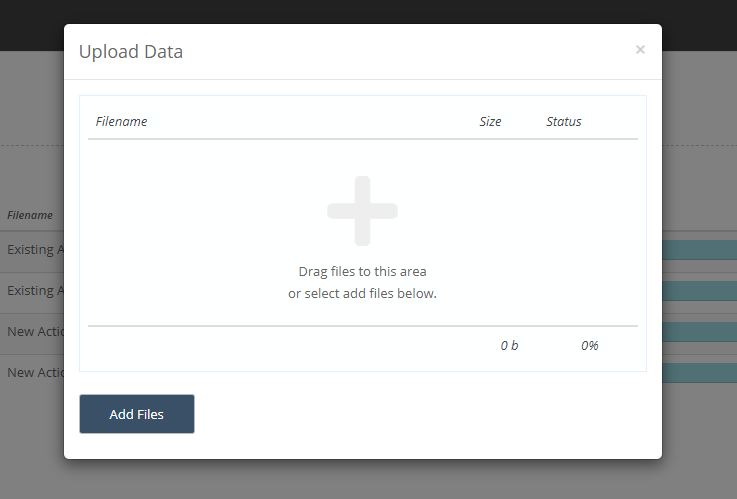
When you have uploaded the file Folio will match all of the Entities/Contacts in the file to their existing counterparts, and display any errors if they are found. If there are any errors they will need to be fixed before the import can go through. Once they are you can complete the process by clicking on Import, or click on Abort if you would like to cancel.
Uploading Entity & Contact Credentials
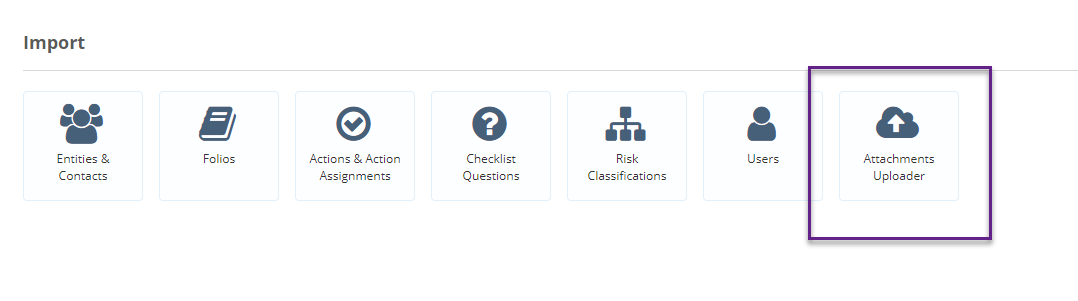
Uploading credentials to multiple entites/contacts in bulk is a two step process in Folio. For the first step, go to the admin screen then select Import:
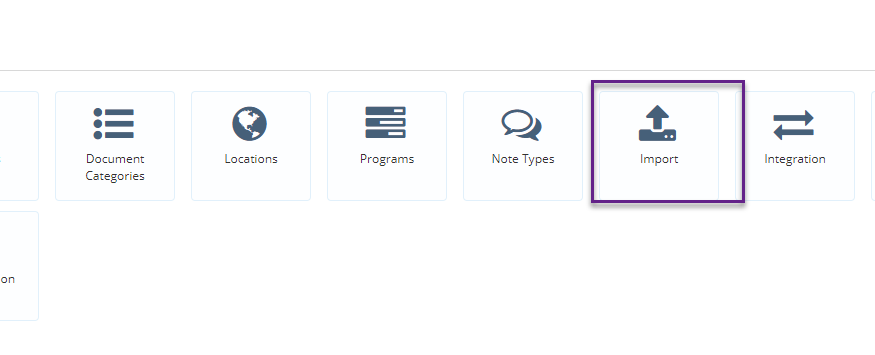
Then 'Attachments Uploader':
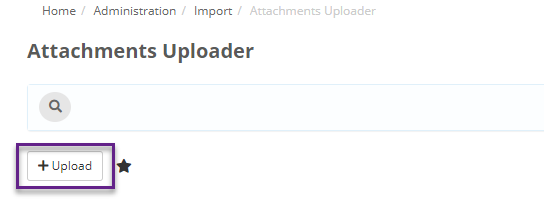
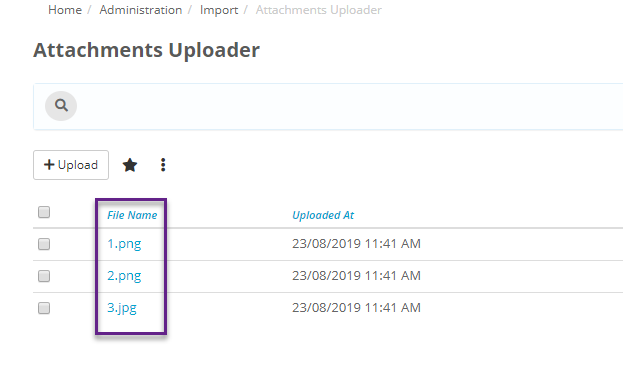
On the next screen you will see any attachments that have been uploaded here and are waiting to be attached to the right record. To upload your own attachments select +Upload:
Then add the files you want. You will then see those files listed on this screen:
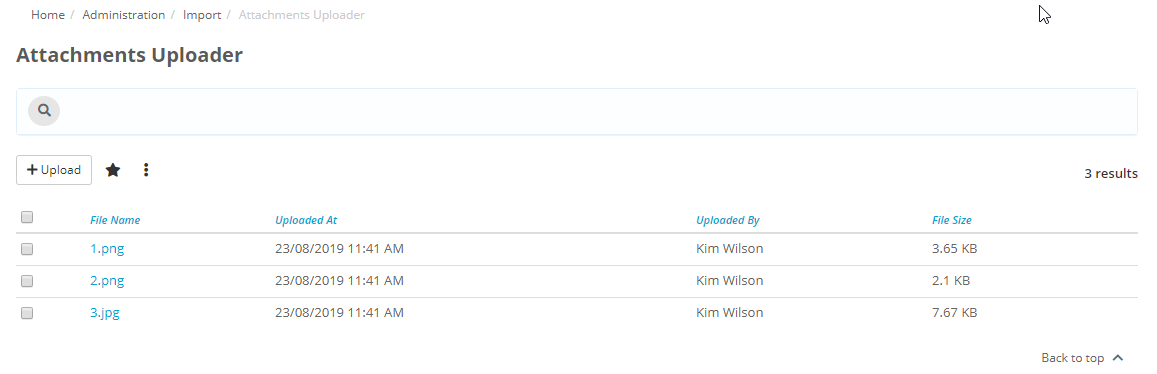
Note that if these files are not attached to a Folio/Entity or Contact within 30 days, they will be deleted.
The attaching of the file to the correct Entity or Contact is done through the Import process. On the Entites & Contacts Import screen click on Download Import Template, and then select Entity & Contact Credentials Import Template:
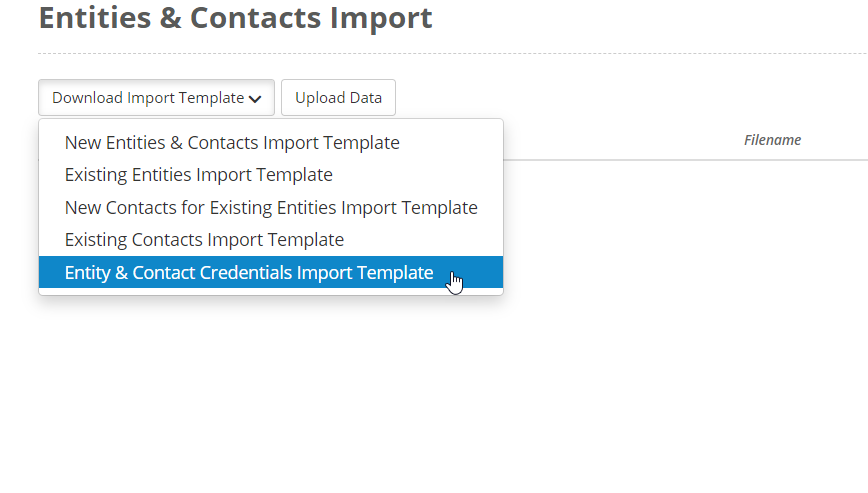
This will produce a CSV file with these columns to be filled out:
- Entity Key: The Folio Key of the entity that you are attaching the credential to.
- Contact Name: The name of the contact on that entity that you are attaching the credential to (left blank if attaching to the entity itself).
- Credential Name: Name of the credential being attached.
- Credential Details: Details of the credential being attached.
- Credential Renewal Date: Renewal date of the credential being attached.
- Credential - Filename: Used to attach the files that you previously uploaded to the correct record. The Filename needs to match the filename that the attachment has in Folio.
- Credential - Title: Title of the attachment. Can be whatever you want.
When filled out the import file will look something like this:

Note that when attaching files to a particular Entity or Contact using the import function that the Entity Key must be repeated on each row.
Once you have filled out the csv you can select Upload Data to upload the file: